

How To Make Simple DIY Felt Party Hats
Oh, felt. Felty, felt, felt.
I love it so. When we decided at the very last minute to host a little 5th birthday celebration for my son (six months after his actual fifth birthday, Mother of the Year right here) I wanted to use materials we already had on hand to create party favors, so I grabbed my felt. (Simple birthdays tip: the birthday child can invite the same number of children as his age over--or out--for a special birthday experience. Six friends over for a sixth birthday party is far more manageable than 20!)
On a Wednesday Mr. Five invited three friends to join us for bowling that Saturday, and by noon on Thursday we had made these adorable felt party hats. They were so quick to make that I ended up making nine of them even though I really only needed four. Did I mention I was holding my 21 month old for most of this process? I'm telling you, these are simple.

You'll need scissors, a needle and thread (I used DMC embroidery thread), one piece of felt per hat, about four inches of sticky back velcro tape (just the hook side) per hat, and one pom pom or felt ball per hat. That's it! Tip: All of my kids' scissors cut felt so much better and easier than my fancy adult scissors.
Join us in the slow lane! Sign up for my newsletter to receive a monthly email from me with a free printable, tips, and resources for living an unhurried life.
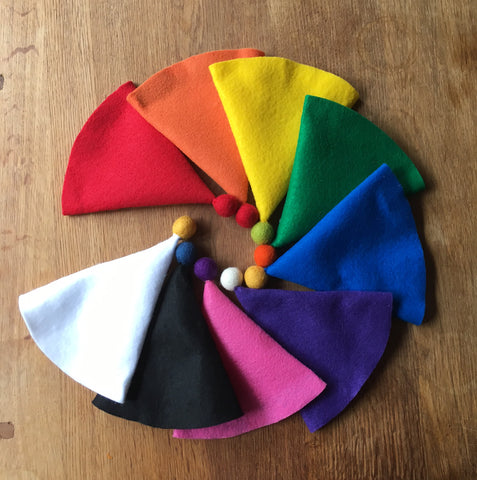
Step 1. Cut the hats out of felt. I opened up a party hat and used that to create this printable Party Hat Template. Just print the template from the link (not from the picture below) at 100% on letter-size paper, cut it out, and then use that to cut your felt. Don't worry about perfect cutting. I didn't, and look at how cute my hats turned out.

Step 2. Fold your felt and make a few good stitches at the very top where your hat will come together, right about where the two purple stars are on the template. Once this stitch is secure grab your pom pon and sew it to the top of your hat. I used simple running stitches and went around the pom pon twice just to make sure it was secure.
Step 3. Once you get your stitching all the way around and back to your original stitch, just go down your hat's seam and sew it up right to the bottom. I made horizontal stitches going down, but just do whatever kind of stitches you like. Make sure you line up the very bottom of your hat as you sew to make sure it will be aligned once you get there. When you reach the bottom of your hat just finish it off with a simple knot, or do a bit of edge stitching if you want to get fancy.
Step 4. I'm pretty proud of this hack: Now it's time to use that sticky velcro. Instead of sewing in ribbons to tie the hats on, all you need to do is stick some pieces of the hook side around the bottom edge of the hat and it will stick to the wearer's hair! This is really convenient, because five year olds aren't that fond of tying ribbons around their chins. I wore a party hat all day, it didn't even come loose once, and I actually forgot I had it on my head until I saw it in a mirror. (This hat has round Velcro dots in there too because I tried to get away with just using those at first. You'll need the strips.)

And that's it! Can you believe how easy this is? They even stayed on the babies' heads with their wispy baby hair.


Hate sewing? You could skip the stitching altogether and just glue your hat with hot glue or fabric glue. I'm not a big fan of glue when I can sew something up, but I think hot glue would make this super quick project go even faster.
Comments
FAuaBEqh said:
gyGPEXVvL
DFUcBEZq said:
NHSDsRBwjlQqVAY
xoVmIRpLNSj said:
qKHTtScjYpeD
mvlEjuSYGDqhcK said:
alqNmZhUjPXrA